Thursday, December 8, 2011

A few finishes, a snowblob, and a crawler...

Oh my word.
I thought I was getting a good start on Christmas gifts this year...
I was proud of myself.
By the 1st of the month
I had all necessary supplies purchased, everything cut and prepped,
tutorials tagged, pages of sewing books marked, and pins on Pinterest up the yin-yang.
Everything got stacked neatly in a laundry basket, just waiting to be picked up and
sewn together with love.
But, I think I got a little cocky.

Because now...
I am in complete panic mode.

The good news is that the first Christmas party is 9 days away.
The bad news is that the first Christmas party is 9 days away.
Am I excited?
Heck yeah.
Am I totally stressed?
You know it.
Should I even be blogging right now?
Not a chance.

I just love giving the perfect handmade presents
- maybe a little too much-
because I've actually overflowed into a second basket.
Oh goodness.

I would love to show
all the Christmas presents
I'm working on, but I can't, because that would ruin the surprise for those getting the presents.
DUH!

So instead, I will show other things I made that aren't Christmas presents, like this:
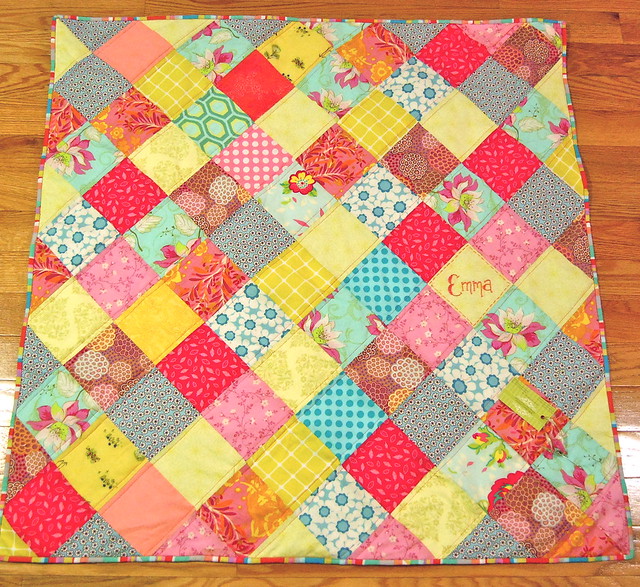
DSC_0116_2

It's my latest finished quilt.
It felt good to finish up a quilt.
I haven't done a quilt in a while, and this one was, well, it was just nice.
I made it for a woman my hubby works with.
I love it.
I think it's perfectly girly and sweet.
I was sick of patchwork, but I had already cut all the squares,
so I turned them all on point.
It was my first time trying that out,
even though I've wanted to for quite some time,
and I dig it.

And I love the stripy binding.
But, I mean, who doesn't love a stripy binding?
DSC_0118

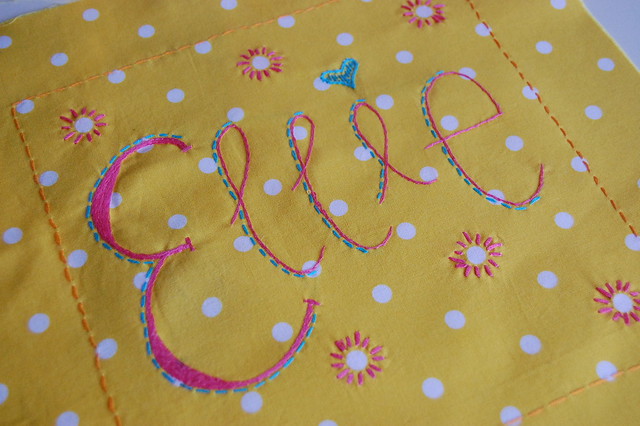
I hand-stitched the sweet little name in one of the
less-busy squares
to add an extra little touch of 'special' to the quilt.

***

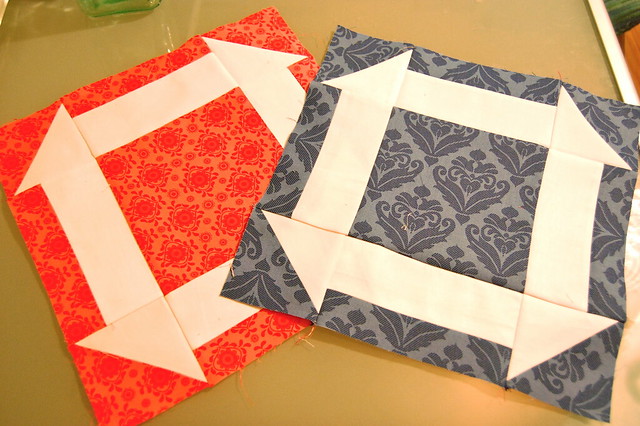
Here's my November contribution to do.Good stitches' Grace circle.
DSC_0111

I took this picture at night,
so the colors are WAY off-
but that's a coral square and a navy square.
We all used this tutorial for the 'hole in the barn door' squares from Mary Catharine's blog. She's really sweet. And talented.
And I'm also using another one of her tutorials for a Christmas present.
But I'm not going to spoil it, so that's all for now.

***
And Willow got invited to her first birthday party
(that wasn't a family member).
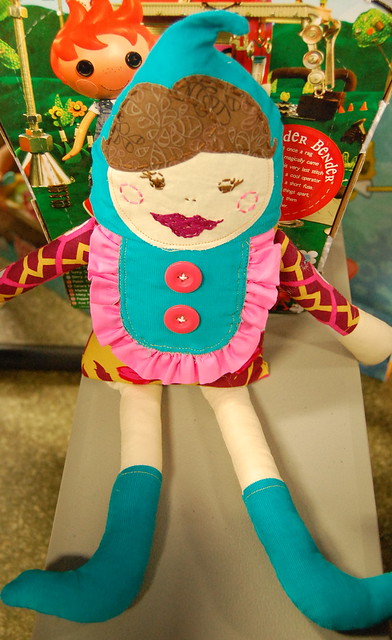
So, of course, I decided her friend needed to have a handmade, hand-stitched dolly.
And I made this decision the night before.
At about midnight.
DSC_0106
Hence the bad picture taken at said party...

***
We also made a 'snowman' who is actually more like a snowblob.
You need a certain kind of snow for the making of snowpeople, and we just didn't have it.

Note to self: check snow before promising snowman to small child.

So, with that preface, I introduce to you, Carl:
DSC_0011
He's basically a pile of snow with a hat, scarf, celery nose, tomato eyes and stick arms.
He's actually quite adorable.
Or, was quite adorable. Carl has since vanished.

Note to self: Warn small child what happens to beloved snowblob when temperature rises.

We had fun in the snow while it lasted...
DSC_0007

***
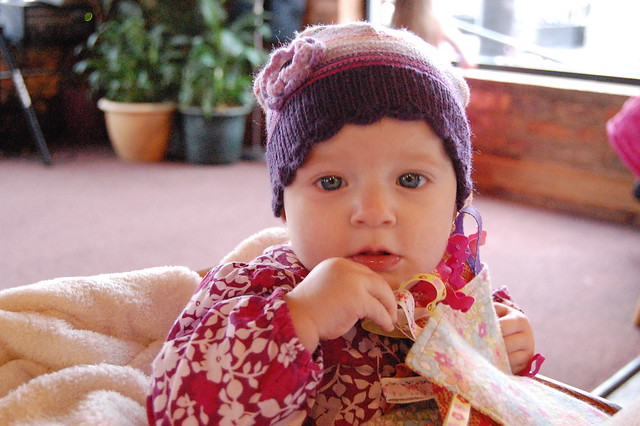
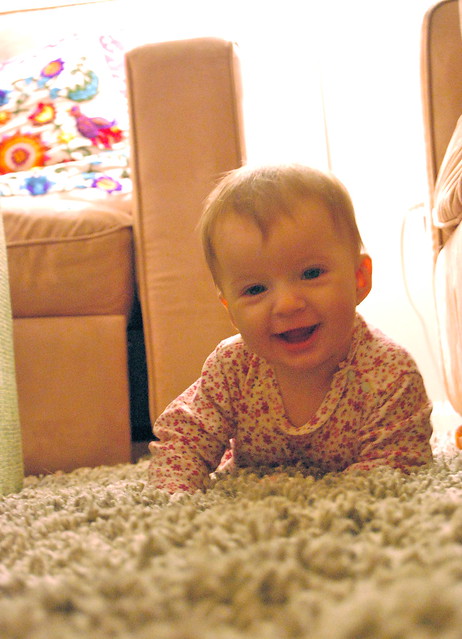
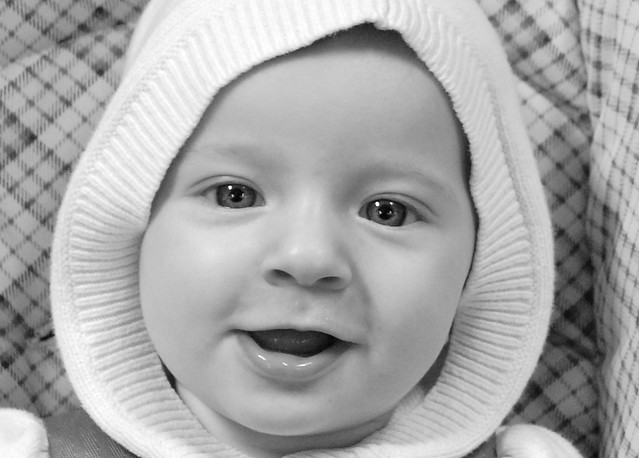
And this little one is getting SO big.
DSC_0072

Look who's crawling!
DSC_0029

That's all for now because the doctor's office just called to remind me of Ellie's well-visit today, which I completely forgot about,
and now I must go bathe, dress, and get 3 people ready for the public eye in a very short amount of time.

Wish me luck.

Wednesday, November 30, 2011

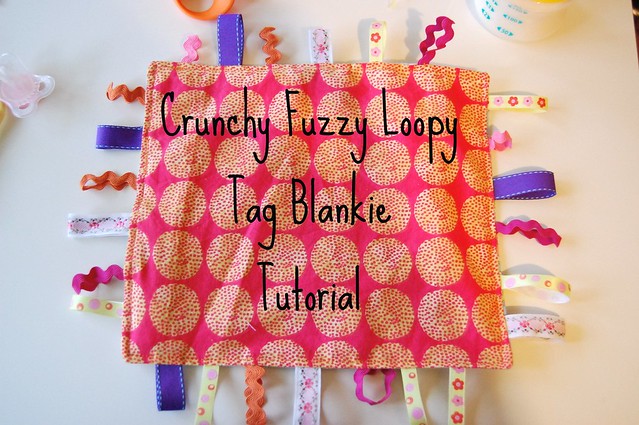
Crunchy Fuzzy Loopy Tag Blankie Tutorial - Handmade Christmas

Ellie is completely enamored with anything that makes
loud crunchy noises.
She also likes to suck on blankets and put her fingers through anything that loops.
And I'm pretty sure fuzzy things make her really happy.
She hasn't exactly told me,
but I think I'm picking up what she's laying down, if you know what I mean...

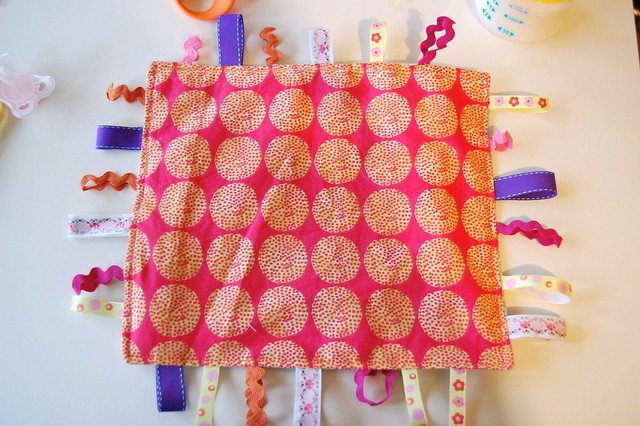
I magically fused all of her baby loves together into something I like to call,
"The Crunchy Fuzzy Loopy Tag Blankie".
In case you didn't pull it from the name, the blankie is crunchy, fuzzy, and loopy.
In other words, it's an auditory/tactile playground for babies.

It was also extremely easy to make with minimal materials.
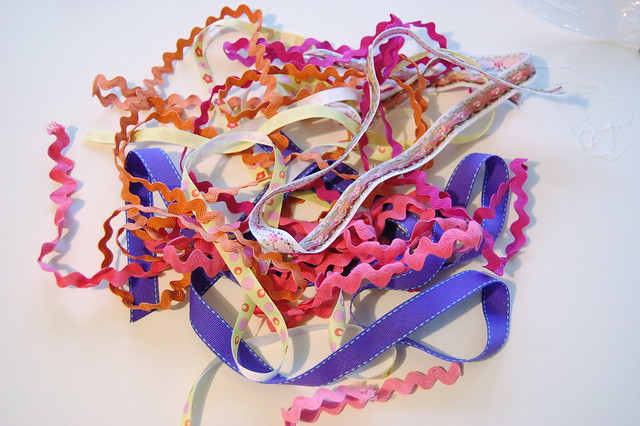
2 pieces of scrap fabric
1 empty cereal or chip bag
ribbon scraps
pins
sewing machine

So easy, in fact, that I decided to write a tutorial for it.
DSC_0038

Now, as Willow would say, let's get this party started.


You need:
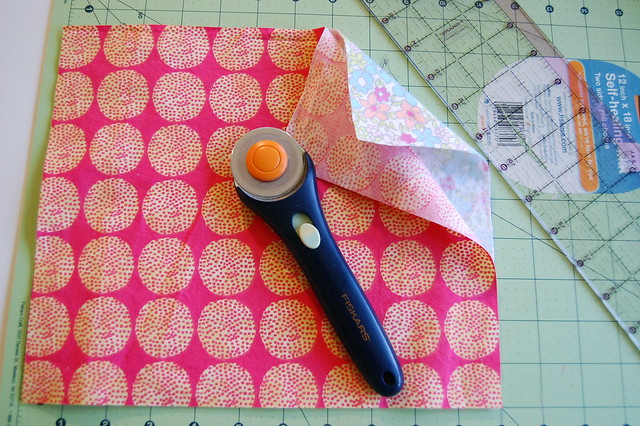
*2 pieces of fabric (quilting weight or flannel) that are the same size- go search your scraps.
Cut to any size you want.
DSC_0014
I used quilting weight for one side, flannel for the other to get some different textures in there.

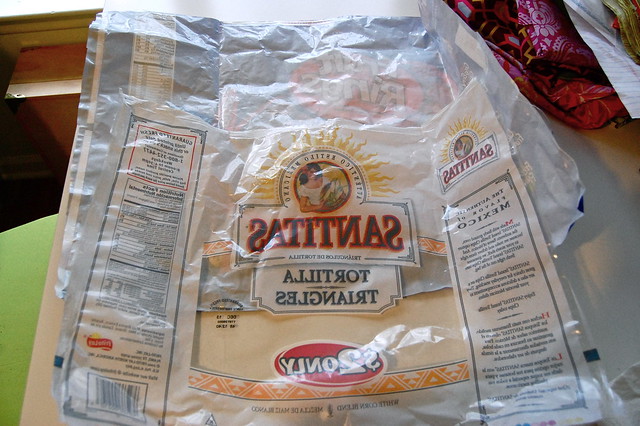
*1 empty bag of chips or cereal- go search your pantry.
You need any kind of bag that makes a crunchy sound and can get wet.
DSC_0010
Clean the bags and let them dry.

Then, cut them up the back seam so they're easier to work with and lay flat like so:
DSC_0011
Cut the bag to be the same size as your 2 fabric pieces.

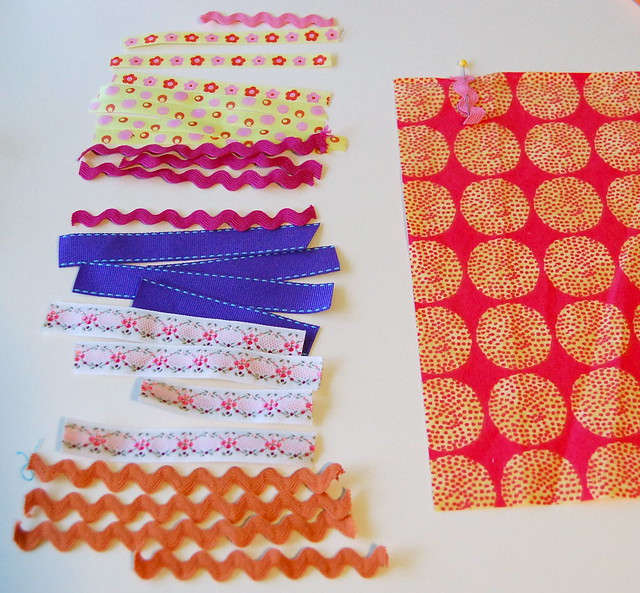
*Scraps of any non-wired ribbon or ric-rac - pieces should be at least 2" long to work well
DSC_0013

Cut longer pieces into 2"-4" strips to make the loops.
DSC_0015

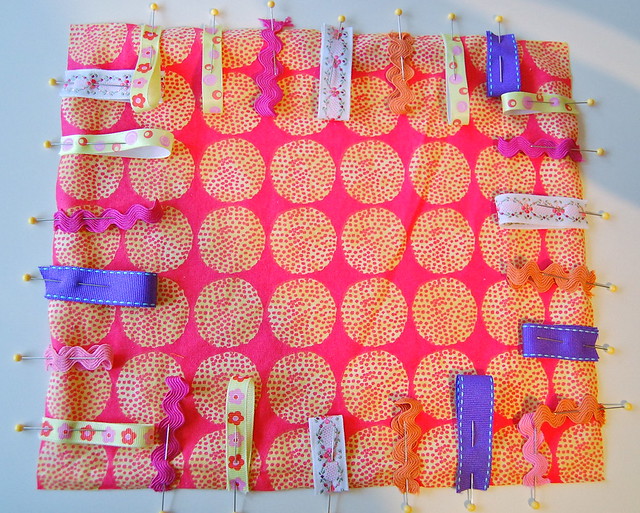
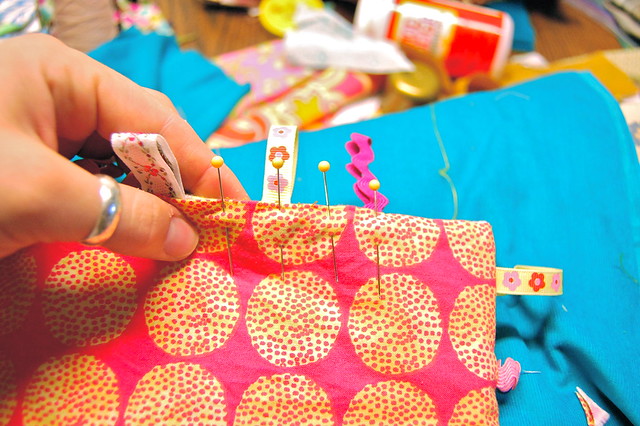
Take one of your two pieces of fabric and place it right side up.
You will pin all your 'loops' to the right side of this fabric.

Now, take your 2"-4" pieces of ribbon and, one at a time, fold them in half, making a loop.
Line up the cut edges of the ribbon with the outside edge of the fabric,
with the looped end pointing towards the inside of your fabric rectangle and pin in place.
Continue along all 4 edges of fabric.
You should end up with something that looks like this:
DSC_0017
Make as many or as few tag loops as you want.

When you've finished pinning all your loops,
take your other piece of fabric and place it on top of the fabric you just pinned the loops to, right sides together.
(So the wrong side is facing up)
Pin in place.
DSC_0020

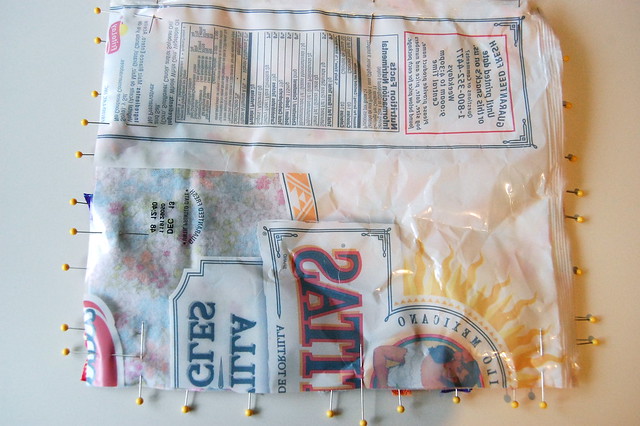
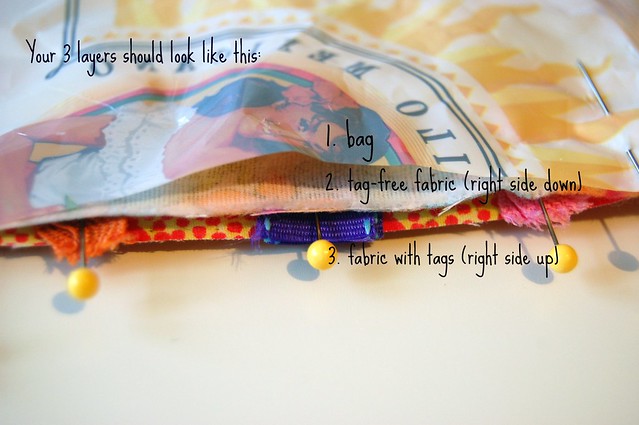
Next, take your piece of crunchy bag and place it on top of the fabric you just pinned.
Pin in place.
DSC_0021

You should have a 'sandwich' of those 3 layers:
taggie blankie

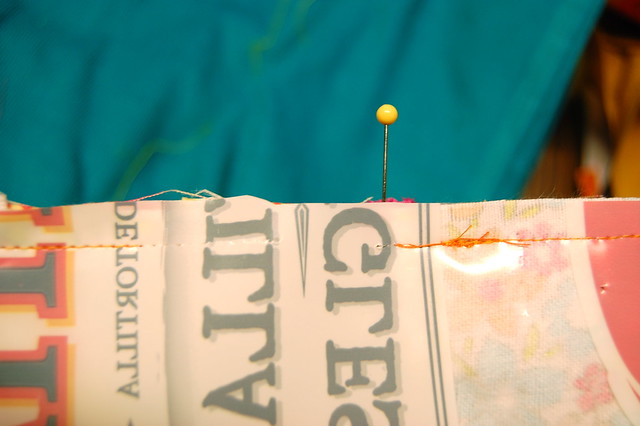
Take your 'sandwich' to your sewing machine, making sure the crunchy bag is on top.
Sew together with 1/4" seam allowance around 3 edges.
DSC_0027

On the 4th edge, make sure to leave a gap about 3 inches wide.
DSC_0029

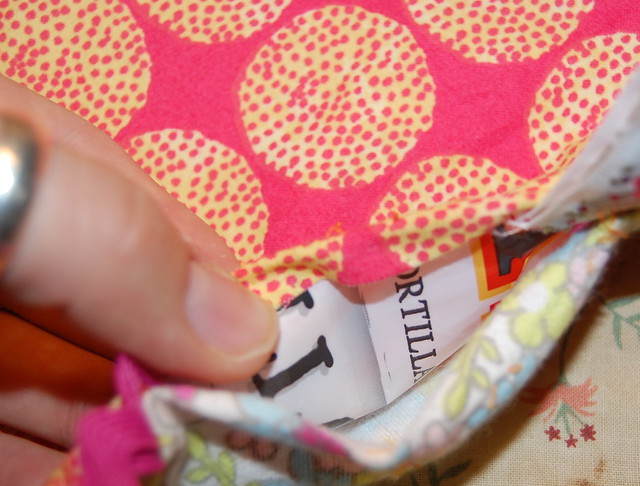
Now, carefully turn your blankie sandwich completely right-side out through that gap.
Use a pen or the wrong end of a paintbrush to push the corners out from the inside so they're nice and pointy.
Smooth everything out.

To close the gap, turn under the open edges of fabrics 1/4" and pin.
DSC_0031

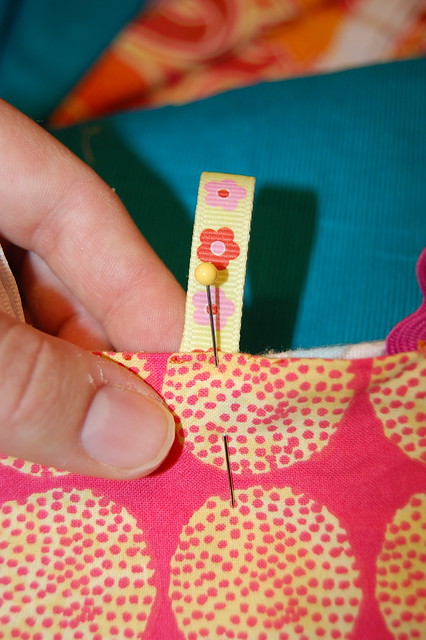
If you had any loops located in the gap, you will need to re-pin those.
DSC_0033

Make sure you place the loops in between the two fabric pieces and 1/2" inside (deep), with the looped end pointing out this time.
Pin in place.
DSC_0036

Now, stitch just inside the edge of the blanket (about 1/8") around all 4 edges.
Backstitch at beginning and end.

Congratulations... you're done!!!

Now you have a super-fun Crunchy Fuzzy Loopy Tag Blankie to give to a tiny human!
DSC_0038


And, if they're anything like Ellie,
they will love it so much that they squeal with delight and whip it around faster than the speed of light to blur the colors and hear it crunch.
Picnik collage

Let me know if you have any questions or if anything is unclear...
I'll leave you be so you can get to work on your new projects.

Monday, November 21, 2011

The Hunchback of Two Really Cute Girlies...


This may just be my favorite thing of all time:
My Girlies

My girls.
Aaah.
I just love them.

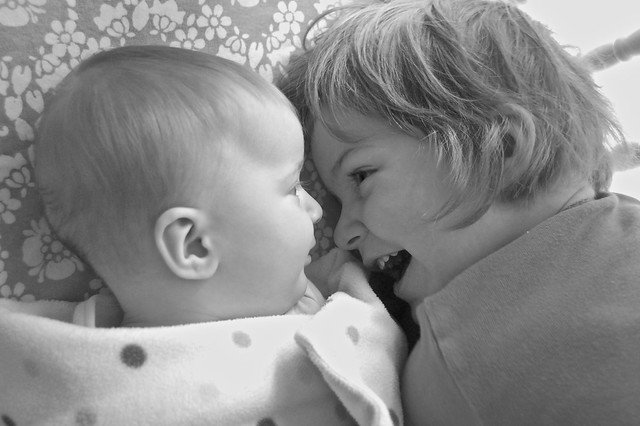
But I love that they love each other even more.
DSC_0119

They're perfect.
Big Sister loves Little Sister and Little Sister loves her right back.
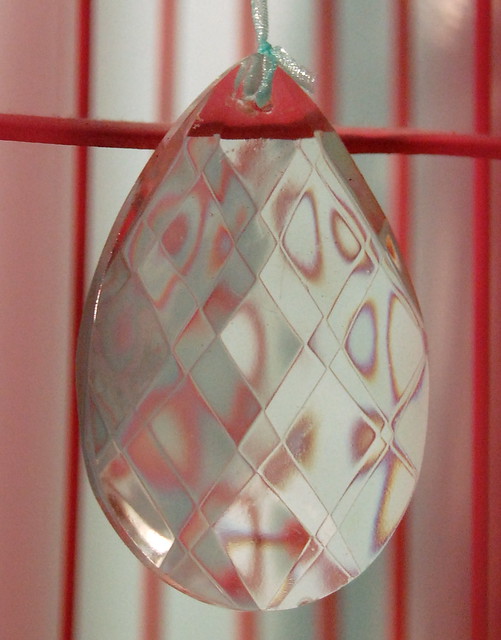
DSC_0059

It helps that they are the happiest kids in the entire world.
The happiest.
In. the. entire. world.
DSC_0092

And funniest.
They crack me up.
Especially the big one.
She's a gas.

triptic

Just in case you thought all I was going to do was gush about my beautiful children...psssh.

I thought I had a pillow form for this new little thing, but alas, I do not.
DSC_0150
So you will get a 'work in progress' pic instead of a 'finished product' pic.

Willow has one coming, too.
But I think it's got about 2 stitches in it... so it wouldn't be that fun to look at.
Maybe I'll finish it by her 4th birthday... haha.
*Hopefully*

All my laundry was finished last week.
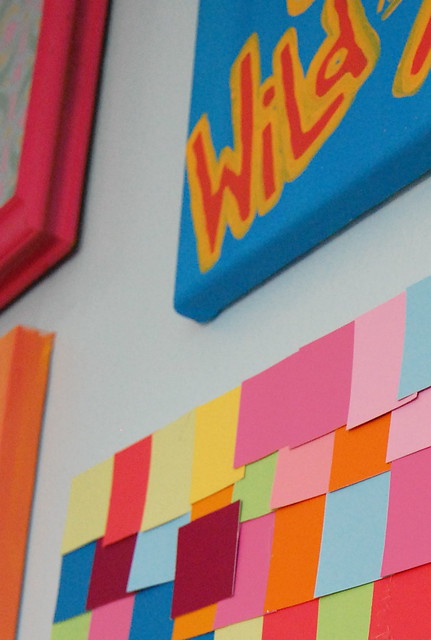
Now- NONE of it is.
None.
I hate laundry.
I want a shirt that says 'I hate doing laundry' so I can wear it when I have no clean clothes.
So, I guess I would wear it for
10 days straight,
then I would have clean clothes for approximately 47 seconds,
then I could wear it again.
But it would have to wash itself or forget it.

Also... my back is out.
I can't move, really.

I think it has something to do with Ellie going from
sleeping through the night
to
not sleeping at ALL through the night
which meant I fell asleep in a sitting position while holding her because she wouldn't let me put her down.
So now I'm stuck in a sitting position while attempting to stand.

That, and the fact that I'm getting old.
Don't even get me started... please. This upcoming birthday has got me all messed up.

Just call me Quasimodo... it's more fitting.

Thursday, November 17, 2011

Sneak peek because I can't wait any longer...

So, remember when I was all excited about showing
you guys my new
on a budget which was completely underway and actually
almost complete
but then we moved, so I had to
start all over
in a new room in a new house?
Before it was finished?

Remember?
No?

Well, I'm almost done with the new Big Girl Room.
Which no longer has '/Nursery' attached to it
because Ellie's crib is in our room.

I couldn't imagine Ellie sleeping in a room that we were not sleeping in.
It's just too weird.
Willow slept in our room forever.
She even had her own room and then we just ended up putting her big girl bed in the corner in our room.
She ended up in there at some point every night anyway...
But she's getting bigger, and therefore needs her own room.
Sniff. Sniff.

Well, since I'm not completely done with her room,
but can't stay away from the blog any longer,
but am super-swamped with holiday sewing and 'our' projects that need finishing up,
and can't contain my excitement for that much longer,
I wanted to give a little sneak peek into Willow's Big Girl Room:

DSC_0138_2

It's almost all handmade/DIY, free, thrifted, repurposed, or upcycled.

DSC_0140_2

And most definitely within a new (even lower) budget- just to see if I could do it.

DSC_0144

It's turning out pretty sweet.

DSC_0146

I'm pulling inspiration from lots of places...

DSC_0147

And Willow has even been creating some art for her room.
Awesome.
I love that she loves making stuff as much as I do...

DSC_0148

I just have a few things to finish up and then I can't wait to post the finished result!

DSC_0145

Aaaand
- once I get the new room finished up and posted-
I'll be posting some tutorials for everything that we made.
That way you can have a super-cute room too without spending a wholelotta moola.
Yippee for everybody.

And I'm still working on making a PDF sleeve pattern for that upcycled dress.
Don't worry.
I didn't forget.
It's just a busy time of year. I'm sure you all can relate.

Happy Thursday!


Sunday, November 6, 2011

All Hallows' Eve

Halloween 2011.
It was a blast, I must say.
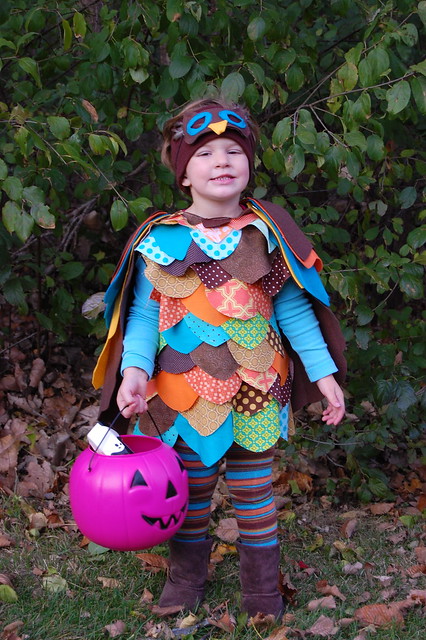
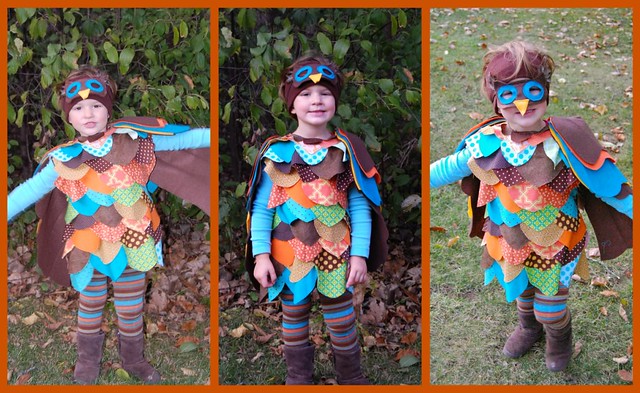
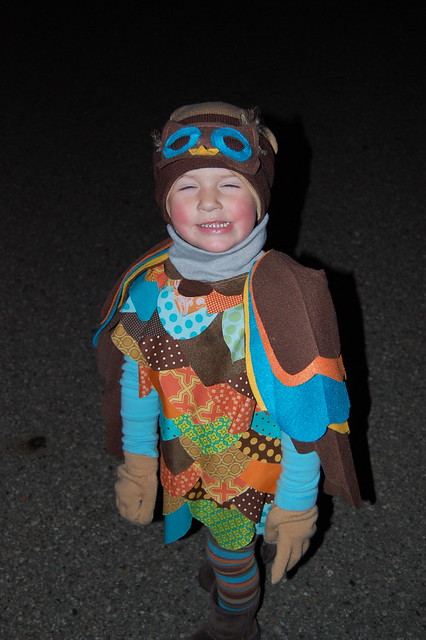
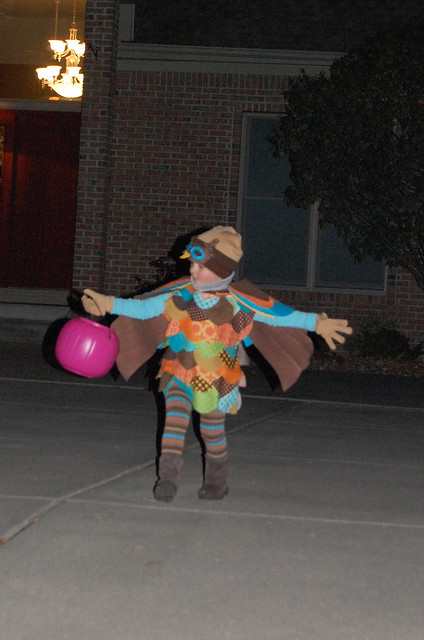
Willow was an 'Owl Princess'.
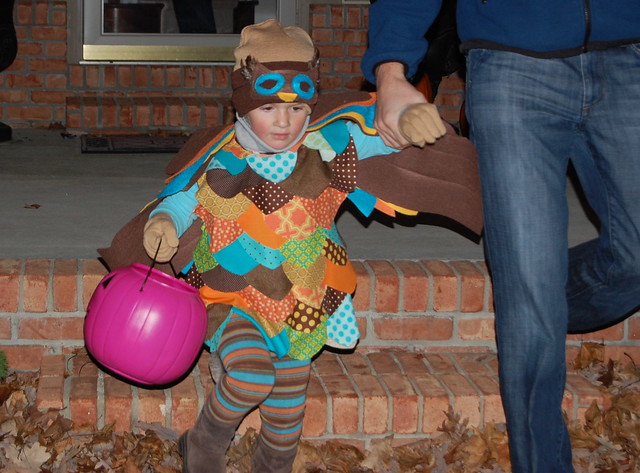
In case you're wondering... the pink pumpkin jack-o'-lantern candy thingy was a must-have.
DSC_0018
Not orange.
Pink.
That's what made the 'princess' part of the costume.
Duh.
Picnik collage


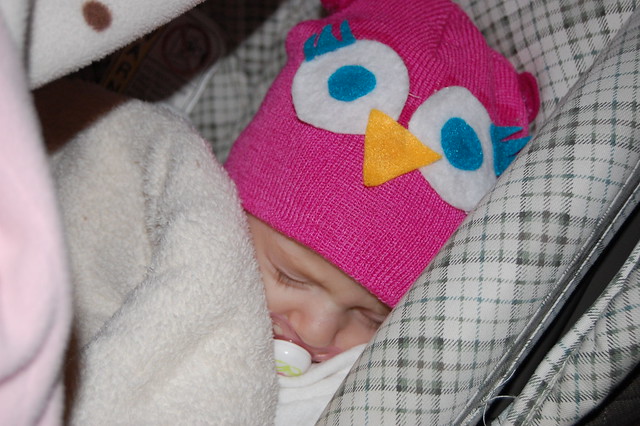
And Ellie was our little Screech Owl.
DSC_0030
Believe me, she definitely earned the 'screech' part of that title.
Girl's got some lungs.
It was cold,
so there's not so many pictures of Ellie in her full costume...
which is a total bummer,
because she looked stinking adorable.
One of these years I will get all the pictures I want before the trick-or-treating begins.
You just watch...

***

At first Willow was going to be Elvis.
Hilarious, right?
But then I saw some owl costumes,
particularly this one and this one,
and persuaded her to change her mind.
Aaaand
I thought it would be a LOT easier to make an owl than it would be to make an Elvis,
not gonna lie.

It was super easy.
And way cheap.
The only thing I bought was the felt for the wings.
I used this pattern for wingy inspiration.
I used the general wing shapes the website provided,
-but I thought the directions were very Martha Stewartish-
which makes sense, considering it's her website...
So I just kinda winged it.
Get it?
Winged it.
I know. I'm hilarious.

I chose the colors based on those leggings, which I thought looked very Owl-y.
Cut all the 'feathers' from scraps.
Sewed them all onto an old t-shirt of mine that I cut the sleeves off of.
And I used safety pins to make it a bit smaller,
as well as attach the wings.
It's all about using what you have...

I think she liked it :)
DSC_0043

She flapped away from almost every house.
DSC_0031

Some of the houses were on a slight incline, and she ran down their yards
so fast
after each house that we had to kind of
block her from the road and act like buffers
just in case
she gained too much momentum and couldn't stop.
Or if she took a digger.
Which she did.
A few times.
It's all good though... CANDY!

Favorite shot of the night:
DSC_0039
I'm pretty sure she's thinking, "Alright... I got this!".

Hope everybody had a Bewitching Halloween!!

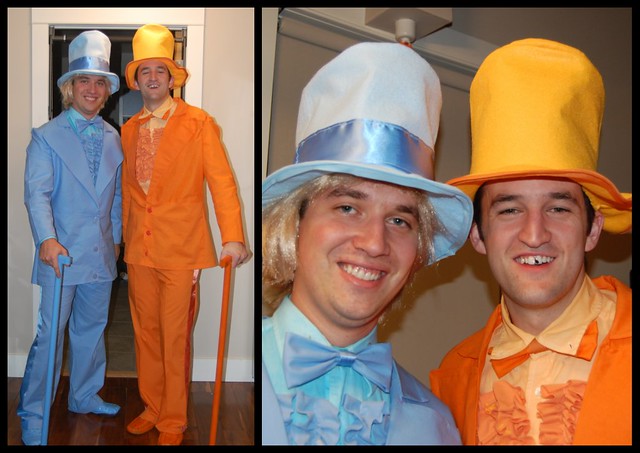
And just for fun, here's a picture of Ty and my hubby,
-aka Dumb and Dumber-
all dressed up in their Halloween costumes:
Picnik collage

Orange and blue tuxedos (made from a men's suit pattern)
complete with
matching orange and blue shoes (old shoes and spray paint),
orange and blue canes (dowels and a railing piece from Home Depot),
orange and blue tuxedo shirts(old button-down shirts dyed and ruffled up with cut up t-shirts),
and matching orange and blue bow-ties and top hats (pattern).
Just add a blonde wig for Harry and a blacked out tooth for Lloyd and you're ready to party...

Do we know how to Halloween or what?
Good times...

Thursday, October 20, 2011

Upcycling- even though I totally hate that word.

I've never liked the word 'upcycle'.
Not sure why.
It just bugs me.
But I actually like to upcycle things quite a bit.
As many things as I can, actually.
It's kind of addicting.
And I need to get used to the fact that I might start using that dumb word more often.
Welcome it to my vocabulary, if you will.
I'll only half-welcome it for now.
Invite it in,
but make it sit in the cramped corner with all the really catty words...
Make it earn its keep.

My usual 'upcycling' includes:
*covering stains on Willow's shirts with fabric appliques to give them a new life.
*adding ruffles to dresses that are too short to make them longer.
*hemming clothes that are too long to make them shorter until she grows into them.
*adding fun trims and things to basic secondhand clothes to make them more 'Willow'.

I am very interested in expanding my upcycling endeavors, however.
I have a few reasons for this:
It's fun.
It saves money.
It makes me use what I have.
It makes me get creative.
It makes me think out of the box.
It sharpens my skillz.
(I think everyone should say skills like skillz- really feel the word; it's way more fun)
It reduces our footprint on the environment (to a degree).
And it makes me feel all cool and stuff.


This is my latest:
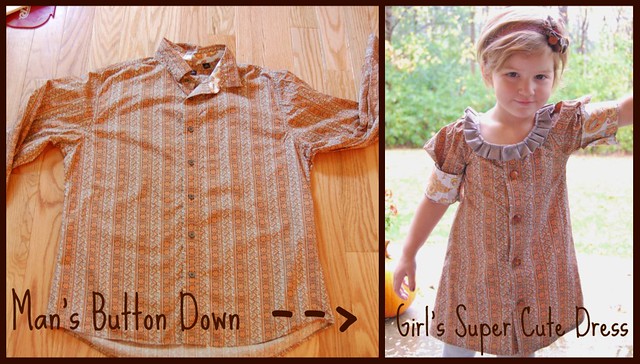
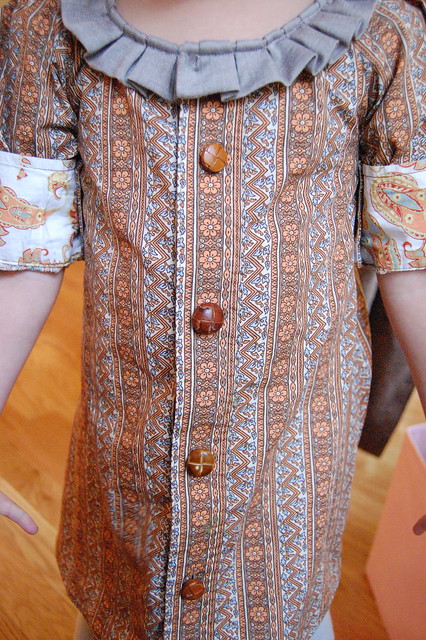
Button down to Dress

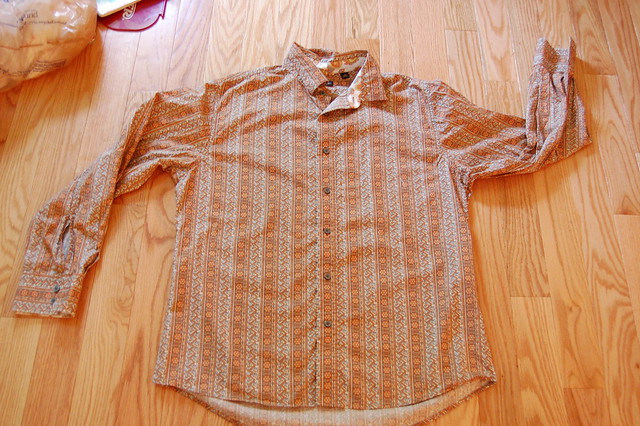
I took one of Drew's old button down shirts
- I don't think he ever wore it-
and mish-mashed a few tutorials together to get a general idea of what I was doing.
The best part is: it was REALLY EASY.
You can do this!!!
DSC_0097

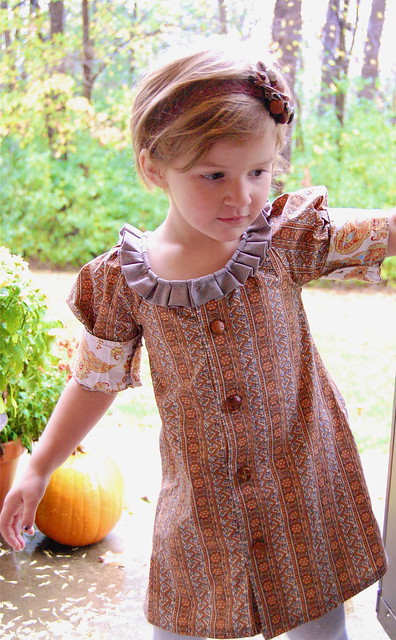
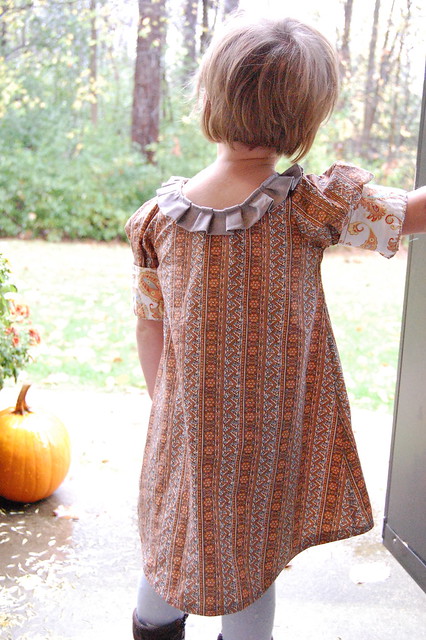
I really love the way it turned out- exactly what I was going for...
DSC_0096

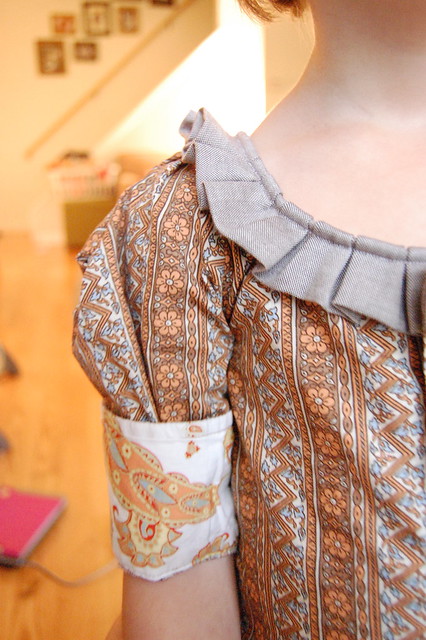
I'm digging the sleeves.
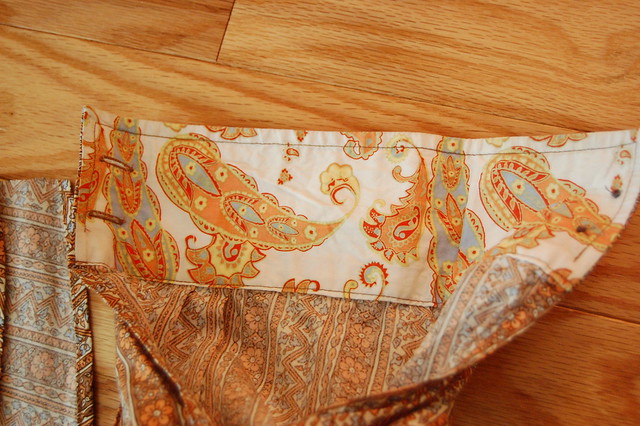
I really loved the inside cuffs of the old shirt and knew I wanted to use them somehow.
So I made the sleeves kind of puffed - and cuffed.
Let's call it puff-cuffed.
Just because it's fun to say.
DSC_0102

I took off the ugly/boring grey buttons and
replaced them
with mismatched buttons from my Button Jar.

DSC_0099
The Button Jar is sweet.
It never disappoints.
It used to hold Northern Beans, now it holds a wholelotta awesome.
Upcycling? I think so...

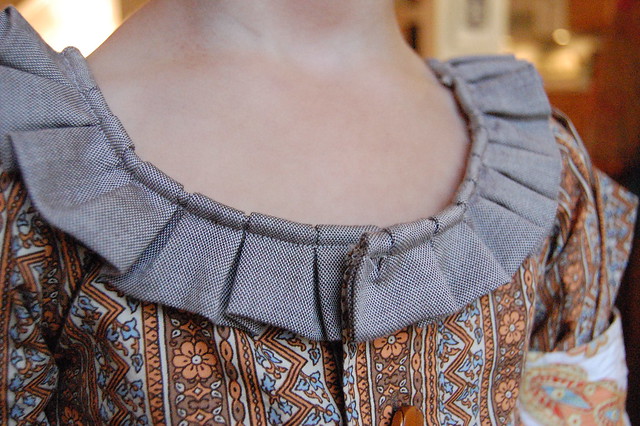
The collar was boring.
Most tutorials called for an elastic collar.
Honestly, I hate making finished hems, and I really don't care for making elastic casings.
Insert the ruffled collar.
And I think it's WAY cuter.
If there's a choice between elastic or ruffles- you always choose ruffles.
Always.
DSC_0100

Here's the old shirt waving goodbye...
DSC_0133

Here's a really quick look at how I did it:

I laid the old shirt out on the floor and made sure it was completely flat,
with no wrinkles- front and back.
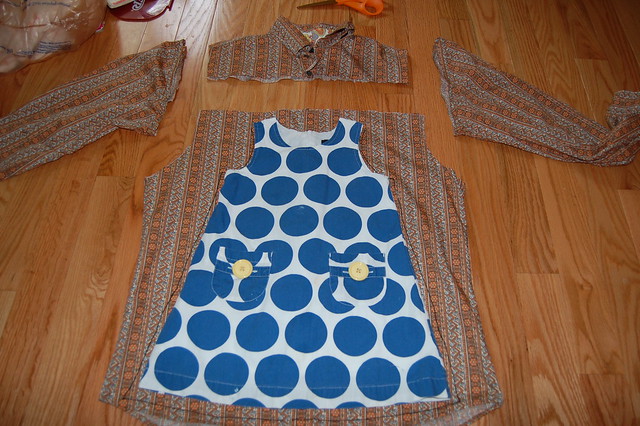
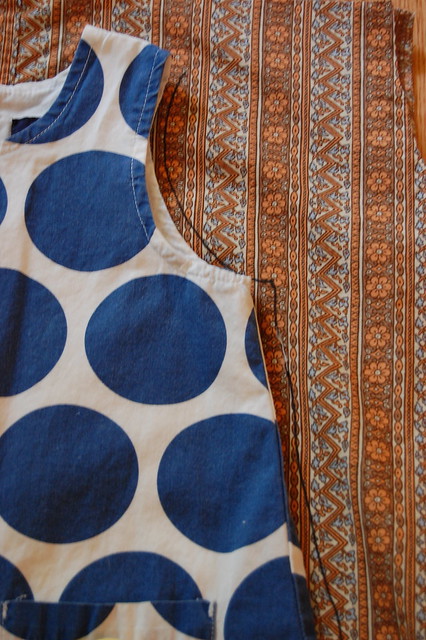
I took one of Willow's dresses (that fits) and centered it on top of old shirt.
Once I had good placement of dress- I cut off sleeves and collar.
DSC_0136

Then I just used Willow's dress as a pattern.
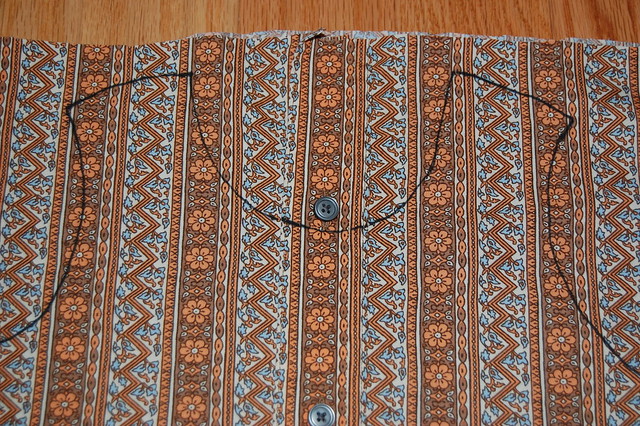
I traced the dress onto the front of the shirt with a Sharpie marker.
I traced about 1/2" from the edge of dress to account for seam allowances.
DSC_0137

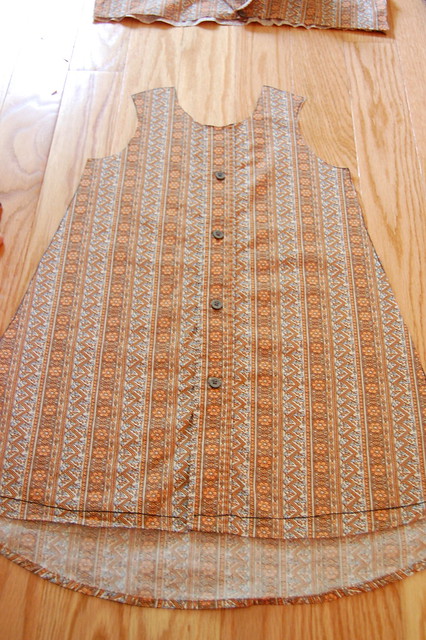
After it was all traced, I cut out the dress from both layers of the shirt at the same time.
I'm telling you, this is easy!
DSC_0139
*when you place dress on top of shirt, make sure the buttons are in a 'good' spot for you.

Here's what it looks like all cut out:
DSC_0142

The sleeves were probably the trickiest part.
On the next dress I'm probably going to tinker with them a bit to get them just right...
Anyways, I knew I wanted to use the
sweet inside cuff of the shirt...
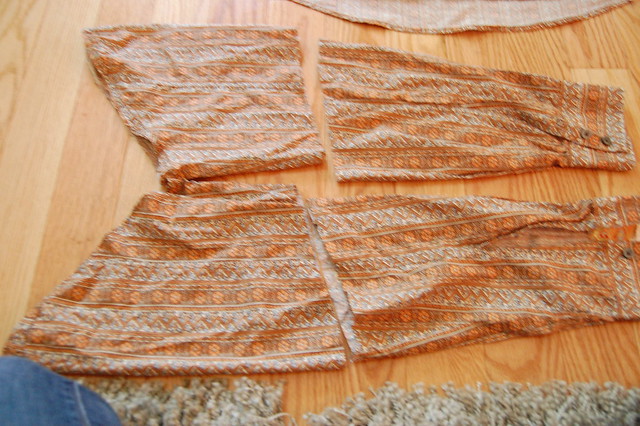
DSC_0143

So I cut the sleeves in half and kept the bottom half for my project.
DSC_0144
Then, I cut the bottom sleeves down the seam to make them lay flat- or to 'open' them up.
I must have been excited about my project,
because I seem to lack many pics from this point forward...
oops.
Now, I know this is going to scare a few people, but you have to make a pattern for the sleeves.
Don't give up! Please!
It's so easy, you just need to know the basics of a sleeve.
Now, I was just going to seam rip one of Willow's dresses that had the same kind of sleeve I wanted, but I couldn't find any.
Bummer.

SO...

I used this general pattern instead that I found when I googled 'sleeve pattern'.
For real.
It's for a short sleeve, but it gave me all the general info for making a sleeve pattern of my own.
I got to work on tweaking a pattern that fit my opened up sleeve fabric.
Once you've got your pattern figured out,
Cut 2 of them from your old shirt sleeves.

Now all you have to do is sew the pieces together!!!!

Go in this order (with right sides together):
Sew one sleeve onto shirt front.
Sew other sleeve onto shirt front.
Sew first sleeve to shirt back.
Sew other sleeve to shirt back.

Now, with right sides still facing each other,
sew the side seams of the dress together, starting at the sleeves and moving down the side of the dress.

Sew both sides of the dress.
Turn inside out.

You have a dress!!!

If you used the old shirt cuffs when making your sleeves,
all that's left to do is finish the collar and hem the bottom.


I realize the above directions would be much more helpful with pictures...
If there are people who are actually interested in one, I will put together a WAY better tutorial.
Just email me or leave a comment and I will put it together ASAP.
But this is what I have for now... sorry.

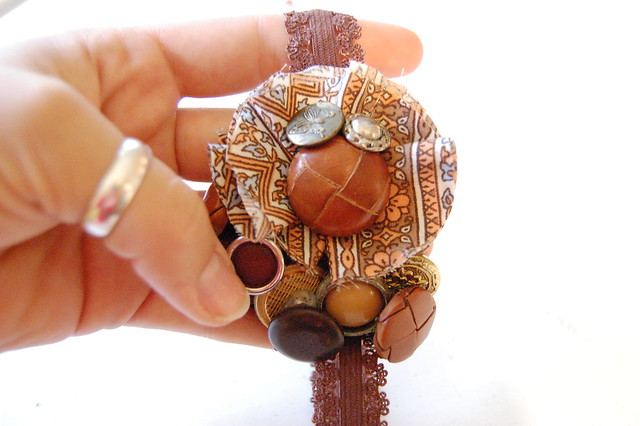
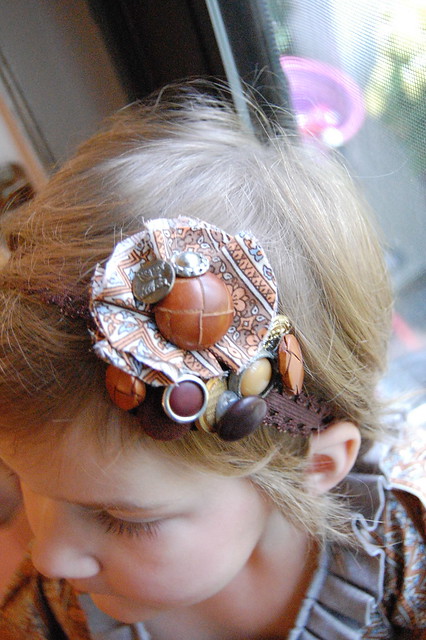
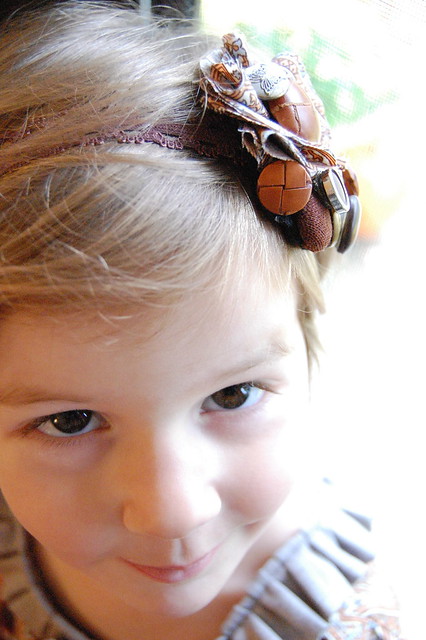
I'll also show you how to make these really cute headbands:


DSC_0084

These are also super easy, and there's NO sewing involved.

DSC_0107

Just some hot glue, felt, fabric flowers, and buttons.
DSC_0105
So you'll be able to make matching headbands for all the cute little upcycled outfits you make.

Seriously, let me know if you're interested in a tutorial.
Raid your hubby's old shirts to see if you've got any potentials- then email me.
willowbeanmama@gmail.com

I'm out.