Ellie is completely enamored with anything that makes
loud crunchy noises.
She also likes to suck on blankets and put her fingers through anything that loops.
And I'm pretty sure fuzzy things make her really happy.
She hasn't exactly told me,
but I think I'm picking up what she's laying down, if you know what I mean...
I magically fused all of her baby loves together into something I like to call,
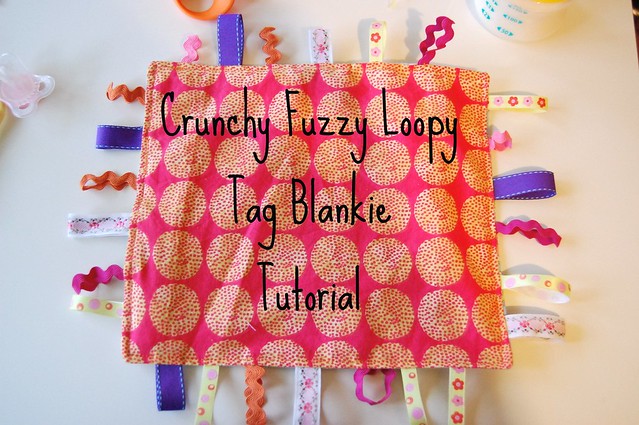
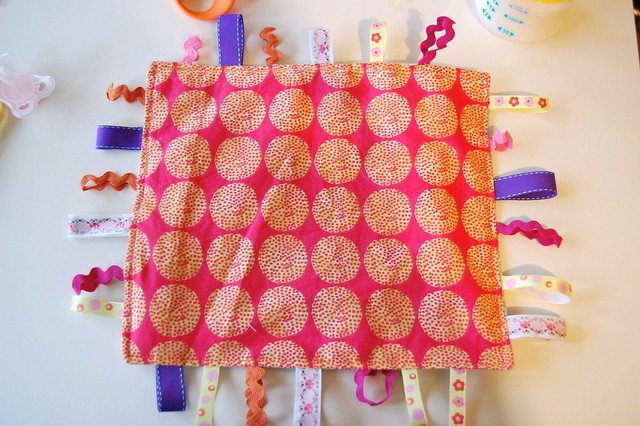
"The Crunchy Fuzzy Loopy Tag Blankie".
In case you didn't pull it from the name, the blankie is crunchy, fuzzy, and loopy.
In other words, it's an auditory/tactile playground for babies.
It was also extremely easy to make with minimal materials.
2 pieces of scrap fabric
1 empty cereal or chip bag
ribbon scraps
pins
sewing machine
So easy, in fact, that I decided to write a tutorial for it.
Now, as Willow would say, let's get this party started.
You need:
*2 pieces of fabric (quilting weight or flannel) that are the same size- go search your scraps.
Cut to any size you want.
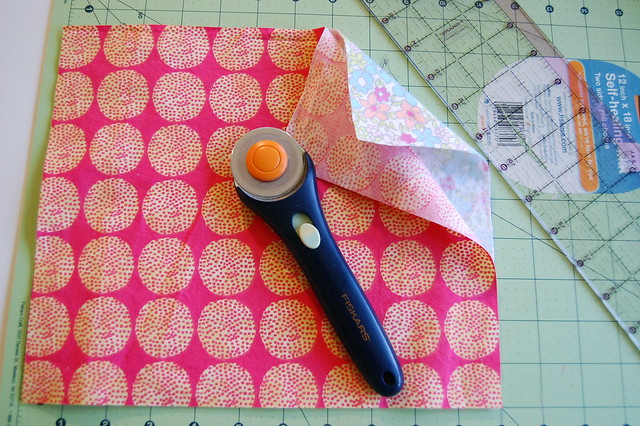
I used quilting weight for one side, flannel for the other to get some different textures in there.
*1 empty bag of chips or cereal- go search your pantry.
You need any kind of bag that makes a crunchy sound and can get wet.

Clean the bags and let them dry.
Then, cut them up the back seam so they're easier to work with and lay flat like so:
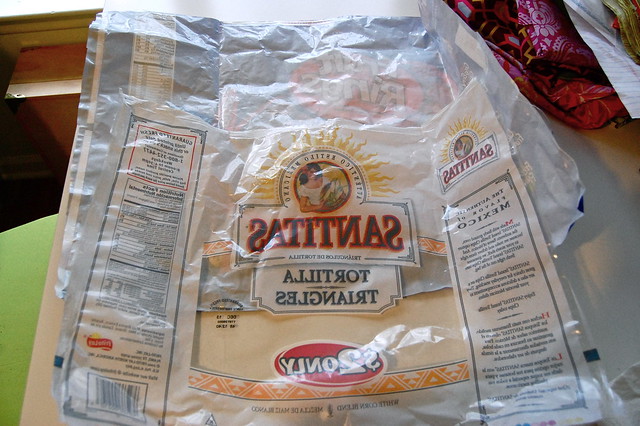
Cut the bag to be the same size as your 2 fabric pieces.
*Scraps of any non-wired ribbon or ric-rac - pieces should be at least 2" long to work well
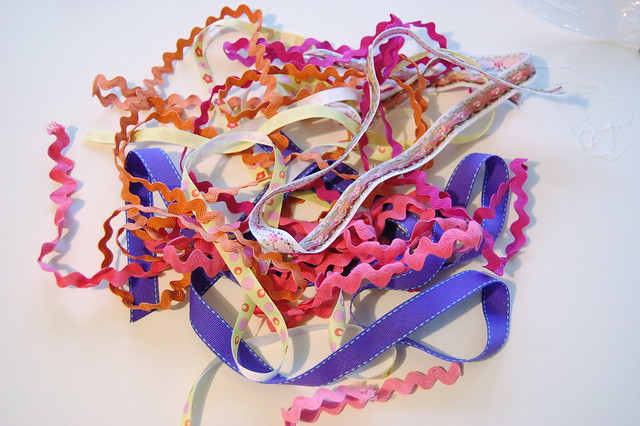
Cut longer pieces into 2"-4" strips to make the loops.
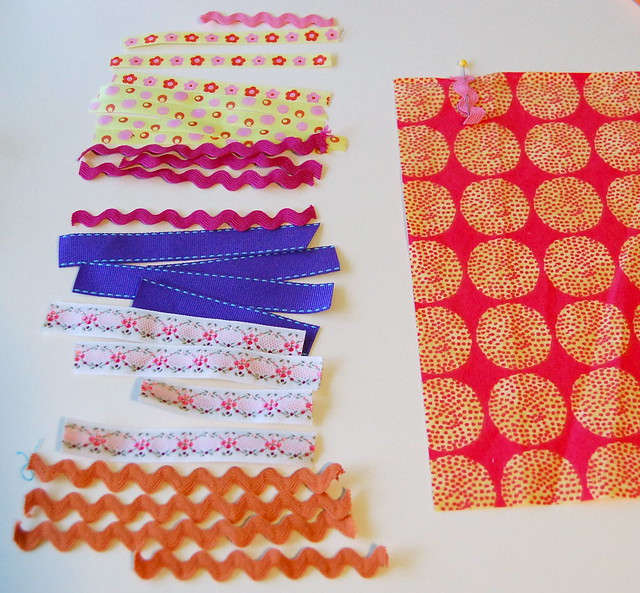
Take one of your two pieces of fabric and place it right side up.
You will pin all your 'loops' to the right side of this fabric.
Now, take your 2"-4" pieces of ribbon and, one at a time, fold them in half, making a loop.
Line up the cut edges of the ribbon with the outside edge of the fabric,
with the looped end pointing towards the inside of your fabric rectangle and pin in place.
Continue along all 4 edges of fabric.
You should end up with something that looks like this:
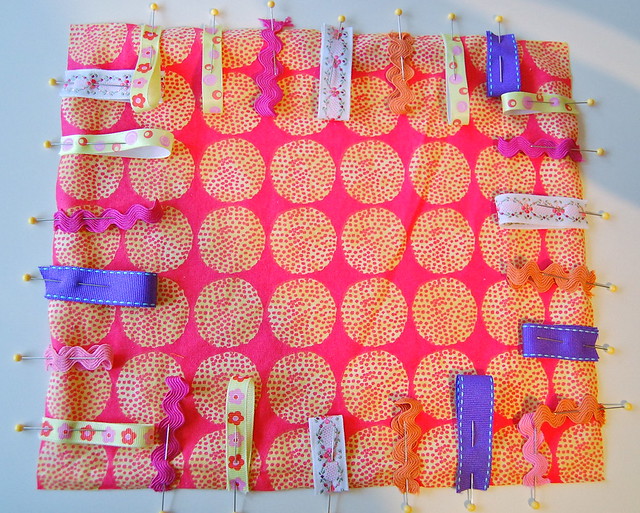
Make as many or as few tag loops as you want.
When you've finished pinning all your loops,
take your other piece of fabric and place it on top of the fabric you just pinned the loops to, right sides together.
(So the wrong side is facing up)
Pin in place.

Next, take your piece of crunchy bag and place it on top of the fabric you just pinned.
Pin in place.
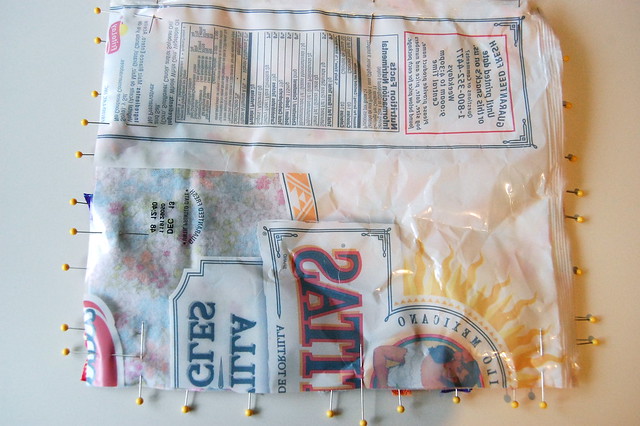
You should have a 'sandwich' of those 3 layers:
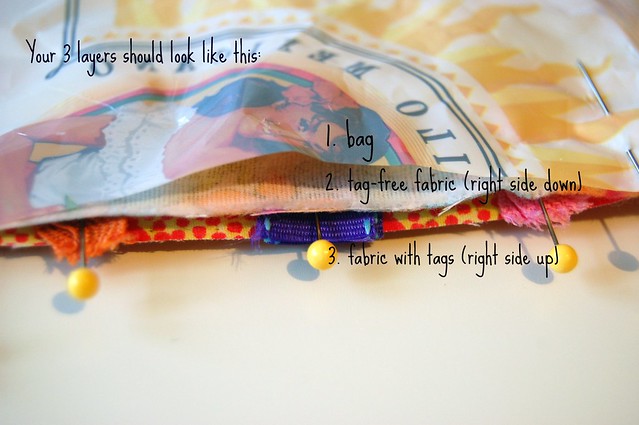
Take your 'sandwich' to your sewing machine, making sure the crunchy bag is on top.
Sew together with 1/4" seam allowance around 3 edges.

On the 4th edge, make sure to leave a gap about 3 inches wide.
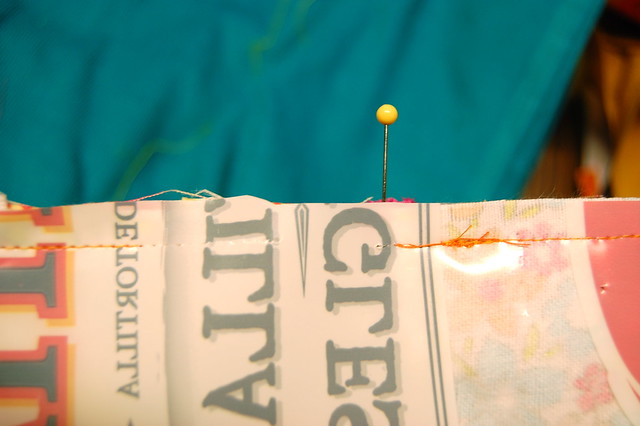
Now, carefully turn your blankie sandwich completely right-side out through that gap.
Use a pen or the wrong end of a paintbrush to push the corners out from the inside so they're nice and pointy.
Smooth everything out.
To close the gap, turn under the open edges of fabrics 1/4" and pin.
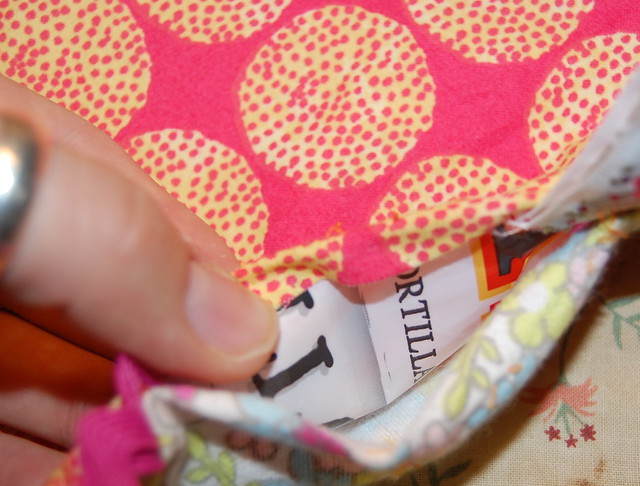
If you had any loops located in the gap, you will need to re-pin those.
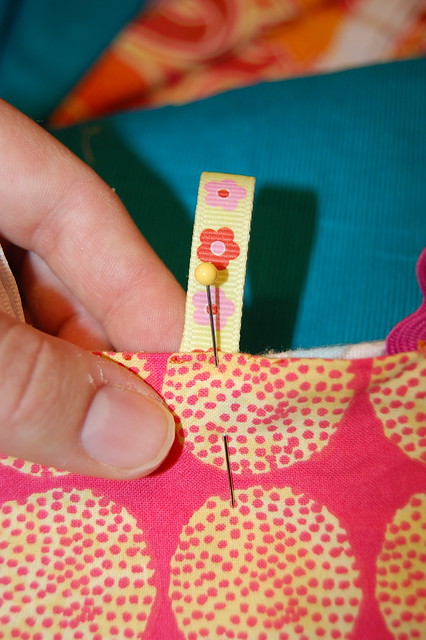
Make sure you place the loops in between the two fabric pieces and 1/2" inside (deep), with the looped end pointing out this time.
Pin in place.
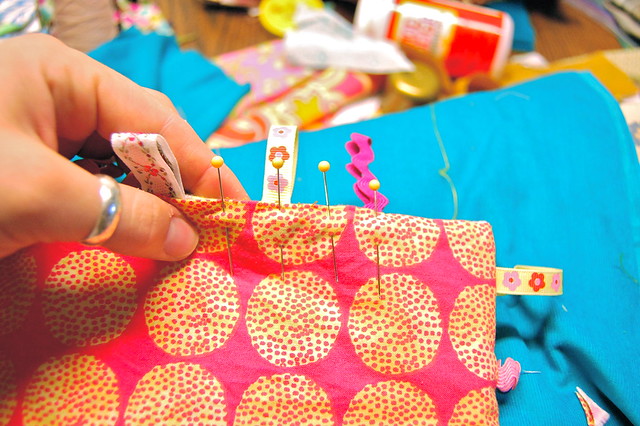
Now, stitch just inside the edge of the blanket (about 1/8") around all 4 edges.
Backstitch at beginning and end.
Congratulations... you're done!!!
Now you have a super-fun Crunchy Fuzzy Loopy Tag Blankie to give to a tiny human!
And, if they're anything like Ellie,
they will love it so much that they squeal with delight and whip it around faster than the speed of light to blur the colors and hear it crunch.

Let me know if you have any questions or if anything is unclear...
I'll leave you be so you can get to work on your new projects.