I've never liked the word 'upcycle'.
Not sure why.
It just bugs me.
But I actually like to upcycle things quite a bit.
As many things as I can, actually.
It's kind of addicting.
And I need to get used to the fact that I might start using that dumb word more often.
Welcome it to my vocabulary, if you will.
I'll only half-welcome it for now.
Invite it in,
but make it sit in the cramped corner with all the really catty words...
Make it earn its keep.
My usual 'upcycling' includes:
*covering stains on Willow's shirts with fabric appliques to give them a new life.
*adding ruffles to dresses that are too short to make them longer.
*hemming clothes that are too long to make them shorter until she grows into them.
*adding fun trims and things to basic secondhand clothes to make them more 'Willow'.
I am very interested in expanding my upcycling endeavors, however.
I have a few reasons for this:
It's fun.
It saves money.
It makes me use what I have.
It makes me get creative.
It makes me think out of the box.
It sharpens my skillz.
(I think everyone should say skills like skillz- really feel the word; it's way more fun)
It reduces our footprint on the environment (to a degree).
And it makes me feel all cool and stuff.
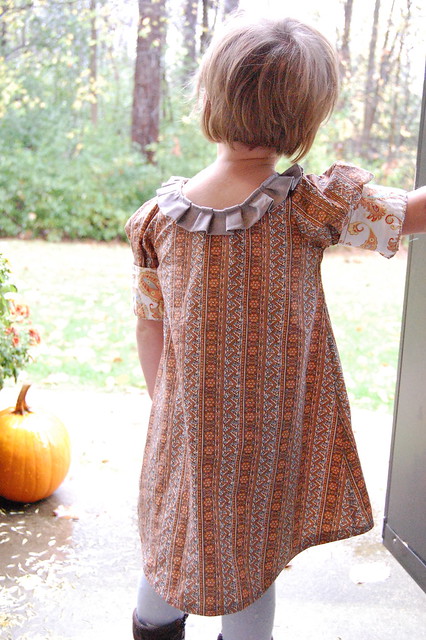
This is my latest:
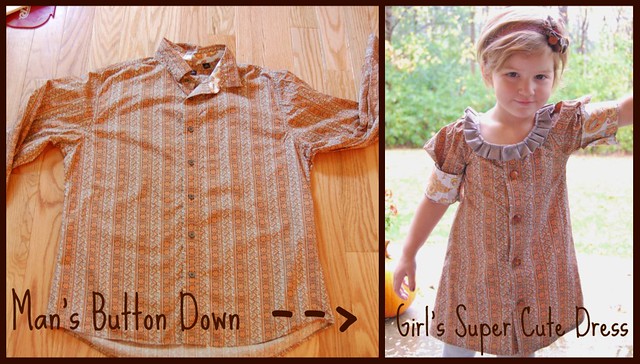
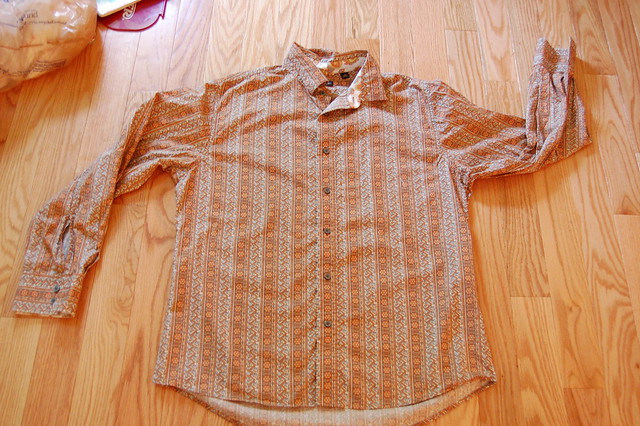
I took one of Drew's old button down shirts
- I don't think he ever wore it-
and mish-mashed a few tutorials together to get a general idea of what I was doing.
The best part is: it was REALLY EASY.
You can do this!!!
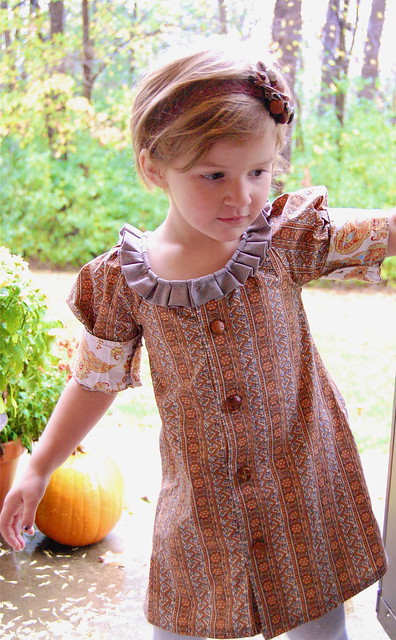
I really love the way it turned out- exactly what I was going for...
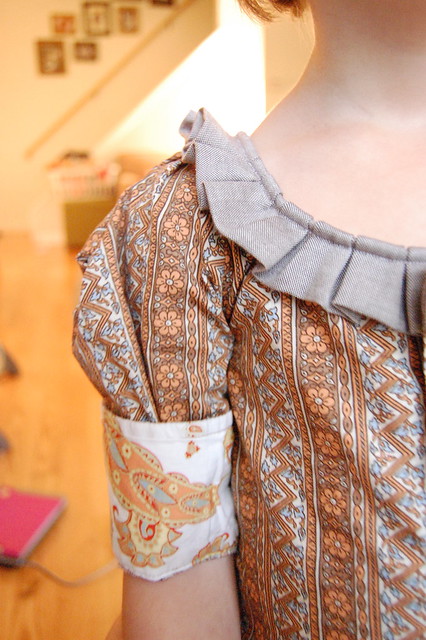
I'm digging the sleeves.
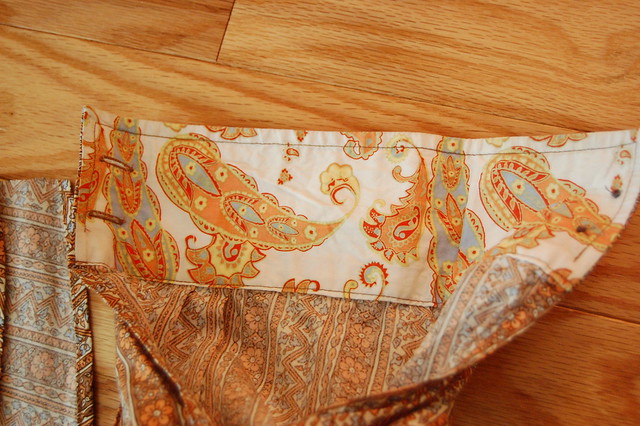
I really loved the inside cuffs of the old shirt and knew I wanted to use them somehow.
So I made the sleeves kind of puffed - and cuffed.
Let's call it puff-cuffed.
Just because it's fun to say.
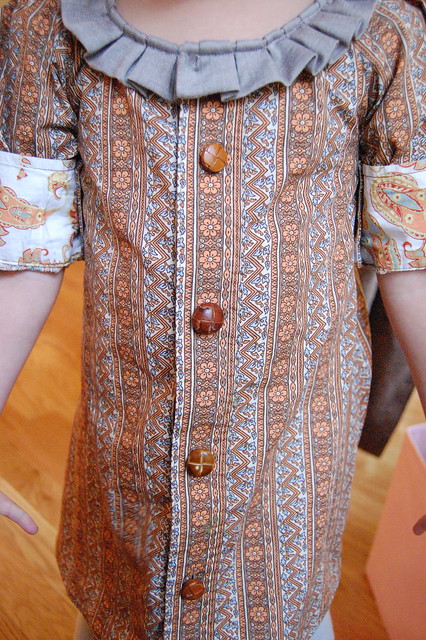
I took off the ugly/boring grey buttons and
replaced them
with mismatched buttons from my Button Jar.
It never disappoints.
It used to hold Northern Beans, now it holds a wholelotta awesome.
Upcycling? I think so...
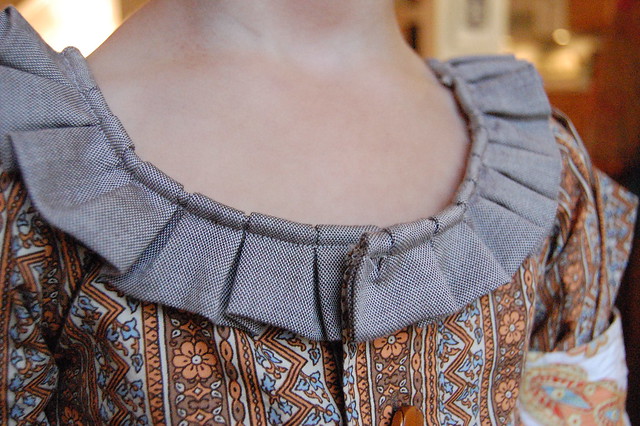
The collar was boring.
Most tutorials called for an elastic collar.
Honestly, I hate making finished hems, and I really don't care for making elastic casings.
Insert the ruffled collar.
And I think it's WAY cuter.
If there's a choice between elastic or ruffles- you always choose ruffles.
Always.
Here's the old shirt waving goodbye...
Here's a really quick look at how I did it:
I laid the old shirt out on the floor and made sure it was completely flat,
with no wrinkles- front and back.
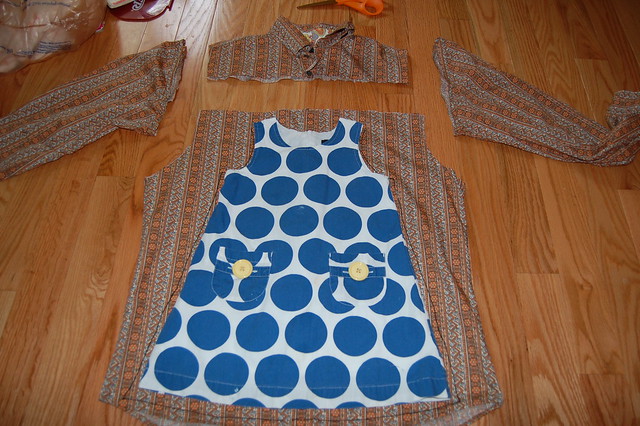
I took one of Willow's dresses (that fits) and centered it on top of old shirt.
Once I had good placement of dress- I cut off sleeves and collar.
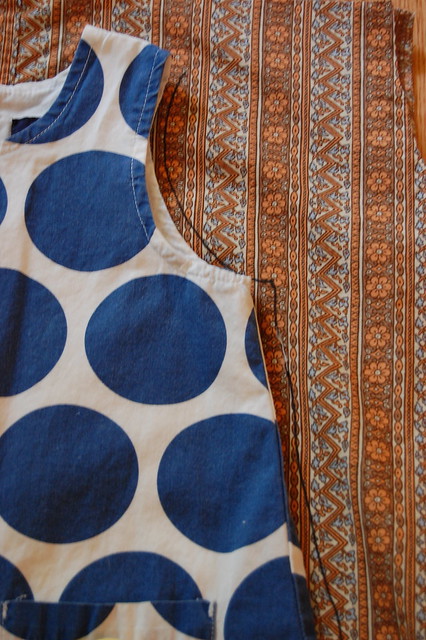
Then I just used Willow's dress as a pattern.
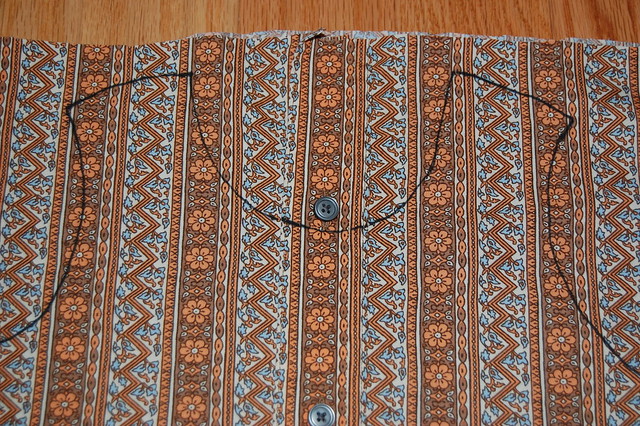
I traced the dress onto the front of the shirt with a Sharpie marker.
I traced about 1/2" from the edge of dress to account for seam allowances.
After it was all traced, I cut out the dress from both layers of the shirt at the same time.
I'm telling you, this is easy!
*when you place dress on top of shirt, make sure the buttons are in a 'good' spot for you.
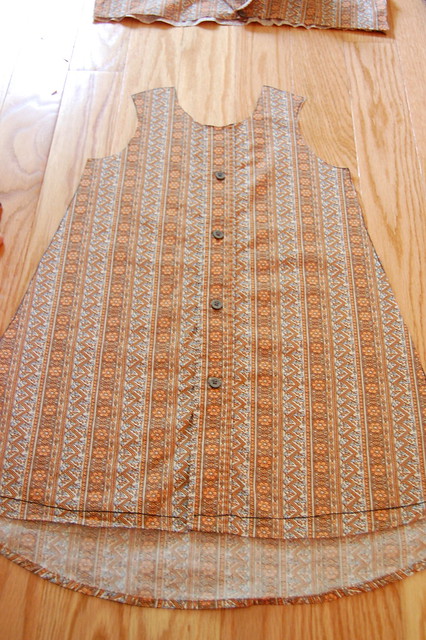
Here's what it looks like all cut out:
The sleeves were probably the trickiest part.
On the next dress I'm probably going to tinker with them a bit to get them just right...
Anyways, I knew I wanted to use the
sweet inside cuff of the shirt...
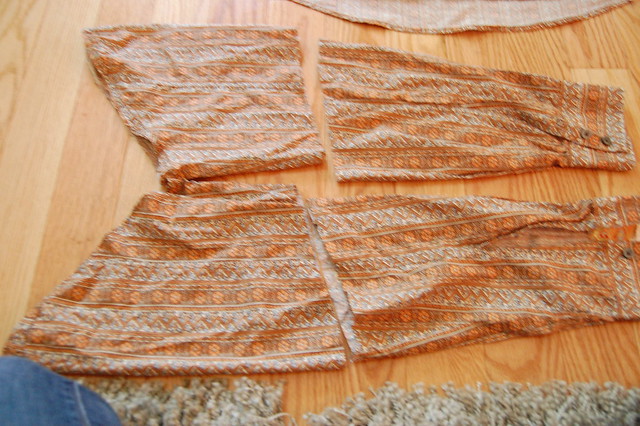
So I cut the sleeves in half and kept the bottom half for my project.
Then, I cut the bottom sleeves down the seam to make them lay flat- or to 'open' them up.
I must have been excited about my project,
because I seem to lack many pics from this point forward...
oops.
Now, I know this is going to scare a few people, but you have to make a pattern for the sleeves.
Don't give up! Please!
It's so easy, you just need to know the basics of a sleeve.
Now, I was just going to seam rip one of Willow's dresses that had the same kind of sleeve I wanted, but I couldn't find any.
Bummer.
SO...
I used
this general pattern instead that I found when I googled 'sleeve pattern'.
For real.
It's for a short sleeve, but it gave me all the general info for making a sleeve pattern of my own.
I got to work on tweaking a pattern that fit my opened up sleeve fabric.
Once you've got your pattern figured out,
Cut 2 of them from your old shirt sleeves.
Now all you have to do is sew the pieces together!!!!
Go in this order (with right sides together):
Sew one sleeve onto shirt front.
Sew other sleeve onto shirt front.
Sew first sleeve to shirt back.
Sew other sleeve to shirt back.
Now, with right sides still facing each other,
sew the side seams of the dress together, starting at the sleeves and moving down the side of the dress.
Sew both sides of the dress.
Turn inside out.
You have a dress!!!
If you used the old shirt cuffs when making your sleeves,
all that's left to do is finish the collar and hem the bottom.
I realize the above directions would be much more helpful with pictures...
If there are people who are actually interested in one, I will put together a WAY better tutorial.
Just email me or leave a comment and I will put it together ASAP.
But this is what I have for now... sorry.
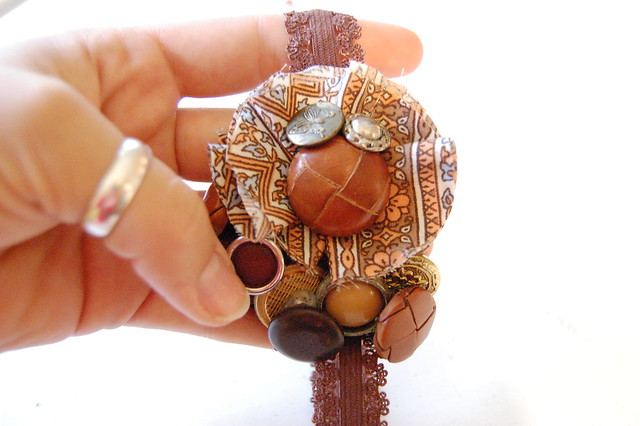
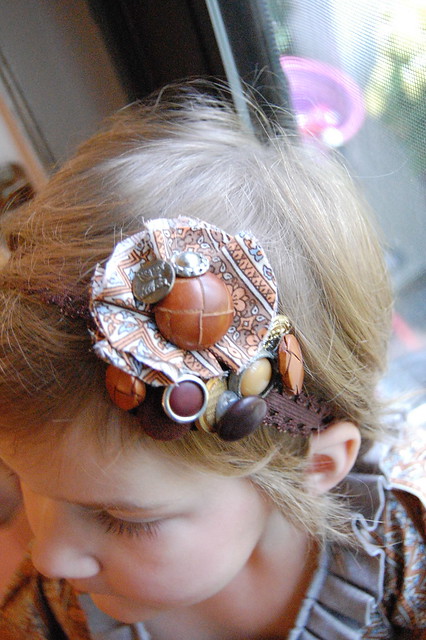
I'll also show you how to make these really cute headbands:
These are also super easy, and there's NO sewing involved.
Just some hot glue, felt, fabric flowers, and buttons.
So you'll be able to make matching headbands for all the cute little upcycled outfits you make.
Seriously, let me know if you're interested in a tutorial.
Raid your hubby's old shirts to see if you've got any potentials- then email me.
willowbeanmama@gmail.com
I'm out.